Installing kali linux on a USB flash drive. Installing Kali Linux on a computer. Creating a Live USB stick.
If you would like to have a portable flash drive or external hDD from Kali Linux\u003e, then there are at least two options:
- install the system on a flash drive
- create a flash drive with persistent(persistent storage)
The first option is similar to a normal operating system installation. But since we will install on a flash drive, we get portability - the ability to boot on any computer with a USB input. All changes made to the system are saved after reboot. In general, work is not much different from work with a regular computer.
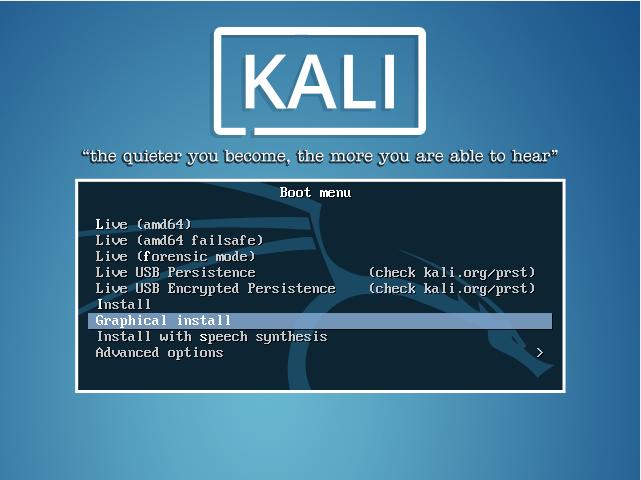
Before starting this tutorial, you need some initial verification materials. A video tutorial is available at the end of the article. Download 32bit or 64bit, it's your choice. So download it from the top link and install. Here select "Graphical Installation". Select the language to be used for the installation process.
Installation on Windows
Select your country and "Continue" installation process. The next type of keyboard layout specified. Select "American English" for normal people. The next request will provide the hostname. Then select the splitting method as "Guide" and click "Continue".
The second option is to create Live systems on a USB drive (the same flash drive). But since the Live system is not capable of saving changes (user files, system settings), another section is additionally created for it, on which files and settings made are saved. Ie, it would seem, it turns out approximately as in the first version - there is a system that "remembers" the changes made after restart. In fact, there are some nuances.
Then select the "Delete Partition" option and click "Continue". So select it and "Continue". Select the option "Automatically split free space" and "Continue" process. Then select the first option, which is recommended for new users, and click Continue.
Finally, select the Finish splitting and writing changes to disk option and Continue. At this point, it will ask for permission to write the changes to disk. Select "Yes" and "Continue". In the middle of the installation, it will ask for a network mirror, choose "Yes" or "No". These settings relate to the update option. Therefore, we recommended that you select "No." You can change this option later.
Live system with persistentby itself takes up less space - as much as the downloaded one ISO image - i.e. usually up to four gigabytes. The operating system installed normally takes about 13-15 gigabytes. On the other hand, a system installed in the usual way boots faster because Live uses compression. A persistent Live system may face a problem when a new kernel (which is upgradeable) is incompatible with the old bootloader (which is part of the Live image and is not updated).
Then he will ask where to install the bootloader. Choose your hard drive, second option. After successfully completing the installation process, you will see a screen similar to the screenshot. The problem they are facing is authentication. Don't worry, we have a solution for you.
Solving the problem "the disc contains an unclean file system"
Yes, this will solve your problem. Step 17, you can find the boot flag parameter. Thus, this is one of the possible solutions to this problem. Let us know that the above step solved your problem. If not try this solution. Before you start, you need to prepare something.
In general, both methods deserve the right to exist, and both of them will be reviewed on the HackWare.com pages. This instruction will show you how to create a flash drive with installed Kali Linux. A detailed procedure will be described to avoid some problems that may arise when installing the system to a USB drive or when booting from a USB flash drive or external drive.
But this has one major drawback: it's perfect, just like your setup, and it's just one machine, and sooner or later you'll have to leave that computer and use something else. Once you switch your rig to a flash drive, that means you can take it almost anywhere and get back to work right away.
One of the first things you come across when switching to free software is people wanting to tell you all about the difference between free beer and free speech, and it's all very enjoyable. But for most of us, almost all of our software is free and unmodified, so in our minds we abandon the idea of \u200b\u200bpaying for functionality.
Instructions for installing Kali Linux on a USB memory stick
Installing to a USB stick is similar to installing to an internal drive. But in order not to accidentally damage the main computer system, computer hard drives or the boot loader of the main system, I suggest installing Kali Linux on a USB flash drive in a virtual computer. After completing this installation, you can boot from this flash drive in your real computer. As a virtual computer, I use.
If we order them with the most important first, it looks like this. This is a very important thing to take care of because it doesn't matter how cheap, fast, and simple a flash drive is when it dies after 20 minutes. Remember that your entire computer will be running from this tiny device, so only go for a slow disk if you are a very, very patient person. The size. Perhaps the most important consideration is the actual physical size of the flash drive. This is usually a problem because all flash drives are necessarily small, and it’s only if you’re after a particularly tiny one that you even need to take that into account.
- Cost.
- The simple rule here is "pay more, get more."
I assume that you already have VirtualBox installed, or you yourself know how to install it.
In VirtualBox, create a new virtual machine. The most common virtual computer for Linux. The only difference is that it shouldn't have a (virtual) hard drive.
When, in the process of creating a new virtual computer, you reach the window HDDthen select " Do not connect virtual hard disk»:
The problem is that flash drives, like all flash memory devices, have a limited number of times they can be written before they fail. Again, this is a reliability factor, so if you care about keeping your data safe for a long time, you should buy a trusted brand.
Select this, then enter your password to proceed. Insert the disc - as soon as the application starts, turn on and turn on the USB flash drive. Choose a free space. Make sure you specify that documents and settings are saved in the Extra Reserved Space, and then drag the slider until it stops.
When the virtual machine is created, start it. Recommended ISO quality (not weekly auto builds). When trying to use weekly builds, I got errors related to the inability to load kernel modules and the installation failed.
USB flash drive for Kali Linux
For Kali Linux as well as any modern linux distribution I recommend over 16 gigabytes. Those. that's 32 gigabytes or more. The higher the speed, the better. Flash drives are poorly suited for multiple simultaneous read / write operations, and operating systems work in this mode. Even with a good memory card, your system will work noticeably slower than the desktop one, it can lag, slow down. With a bad (slow) memory card, work can become difficult, uncomfortable.
The more advanced your motherboard is, the more features you will have to load. Once that's done, the next challenge is figuring out which device your flash drive represents. Of course, your own machine will almost certainly be different, so you may have to go through the most popular options to see what works.
Customization! - Your flash drive is complete: now you can make all the settings you want, because they will all be saved. Add users, add packages and make them your own! But we recommend that you make some or all of these simple changes to make them really feel right at home. Configure the software. ... It really becomes a problem if you intend to install a large number of software... It will take less than 10 minutes.
How many USB flash drives live with an installed operating system
I am one of those who do not spare their media. I download torrents to my memory cards in my phone, I install operating systems on my USB sticks, I use them intensively, and I often make and restore full backups. I have not broken a single memory / USB stick from heavy use. To be honest, I consider it a myth that memory cards can deteriorate due to frequent use. Maybe I'm just lucky. I want to say that USB flash drives (by at least some) are able to "live" for years and be used with the operating systems installed on them.
You are using all your system resources for example. You don't take up space on your hard drive. This is usually a blank sheet each time it is loaded. You can download it, install programs, save files, and change settings. But, as soon as you reboot, all your changes will be destroyed and you will be returned to the new system.
Why is this needed?
Any changes made to the system, such as saving a file to the desktop, changing settings in an application, or installing a program, will be saved in the overlay file. You don't have to configure your system from scratch every time you boot. You cannot modify system files like the kernel. You cannot perform major system updates. You also cannot install hardware drivers. However, you can install most applications.
Cleaning the USB memory stick to install the operating system
Before starting the installation, I recommend completely erasing the data from the flash drive (delete), because otherwise I sometimes got errors with the problem of writing to the disk. We will do this by the forces of the Live system itself, having booted from the downloaded ISO.
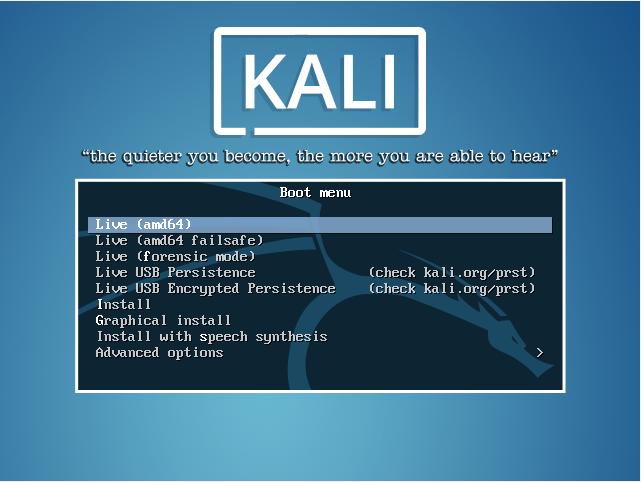
When this menu appears, instead of choosing "Graphical Installation", boot into the system.
Drag the slider to the right to select the maximum amount of memory. You have now configured all the parameters that need to be configured. Give the instrument some time to create the disc. You should see the folder or file that you placed on your desktop.
Mode of operation and methods of loading
The choice between possible target devices or partitions is offered among the available removable storage devices. To be able to non-destructively update, it is not possible to blind overwrite the bootable media. Two methods of loading alternatives have been investigated.
When you boot into the bottom bar of the virtual machine, connect your USB flash drive to the system:

You can see the list of disks, but since there are no other media (hard disks) there, you will only see a flash drive under the name / dev / sda:
Our plans for the future include moving to a different software component as a foundation and hopefully working more closely with this future upstream of ours. The distro is loaded with hundreds of well-known security tools, and it got its own name. Certification is a rigorous 24-hour test in which applicants must successfully compromise multiple computers with an additional 24 hours to write a professional test score that is submitted and evaluated by Offensive Security personnel.
To switch to expert mode, enter there
Agree twice to completely wipe the disk.

Now our flash drive is cleaned without removing it, restart the virtual system. Now select " Graphical install»:
Install Kali Linux on a USB flash drive: check if saving changes works
The information contained in all of these Cali articles is for legal purposes. More may be required depending on the intended use. Be sure to back up all data before proceeding. To get this version, enter the following into the terminal.
Be sure to back up the required data. This tutorial will use the Graphical Installation method. The next few screens will ask the user to select local information such as language, country and keyboard layout.
Instructions for installing Kali Linux on a memory card
There are no differences from the installation of the operating system - everything is quite standard, the choice of language, username, etc. If you have problems with this, then, again, refer to the "Installing Kali Linux" note.
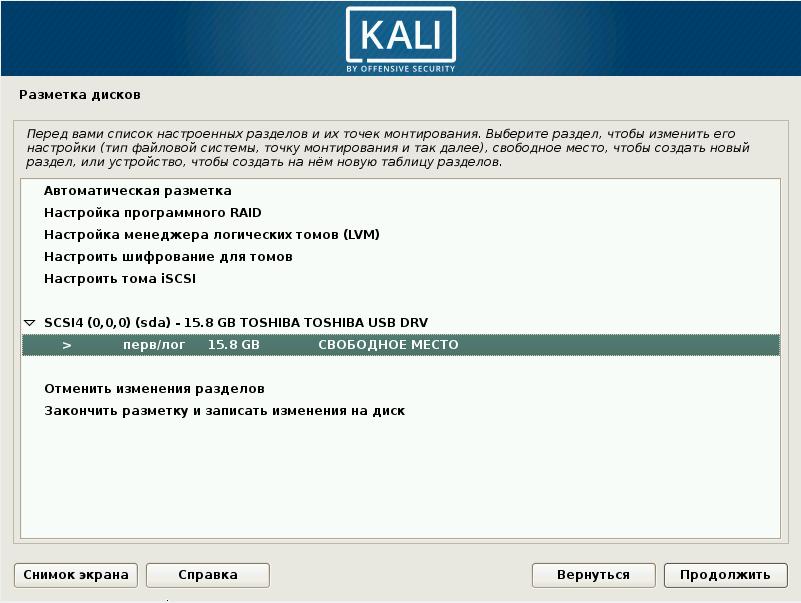
Perhaps there is only a small nuance with the swap partition. We do not need a swap partition on a flash drive at all - we will use computer resources directly, i.e. all the RAM - this should be enough. But even if this is not the case, there will only be harm from the swap partition on the flash drive, since it will be very slow. To prevent the creation of a swap partition, then when you go to " Partitioning disks"Select" Manually»:
After getting the locale information, the installer will ask for the hostname and domain for this installation. Provide relevant environmental information and proceed with installation. After setting the password, the installer will ask for the time zone information and then stop when partitioning the disk.
The next question prompts the user to define the partition on the storage device. Most installations can simply put all the data in one section. In the last step, ask the user to confirm any changes that need to be made to disk on the host machine.

Choose a section:

Choose "Yes":

Choose "FREE SEAT":
After confirming the partition changes, the installer will go through the process of installing files. Once completed, the system will want to set up a network mirror to receive future programs and updates. Upcoming articles will walk you through the tools available in Cali and how they can be used to check the security posture of hosts and networks. Unfortunately, I ran into several problems during the installation. The installation procedure on a hard disk and a virtual machine is basically the same, so we will only cover the differences.

In the next window, most likely, you will not have to change anything:

Choose "Primary":

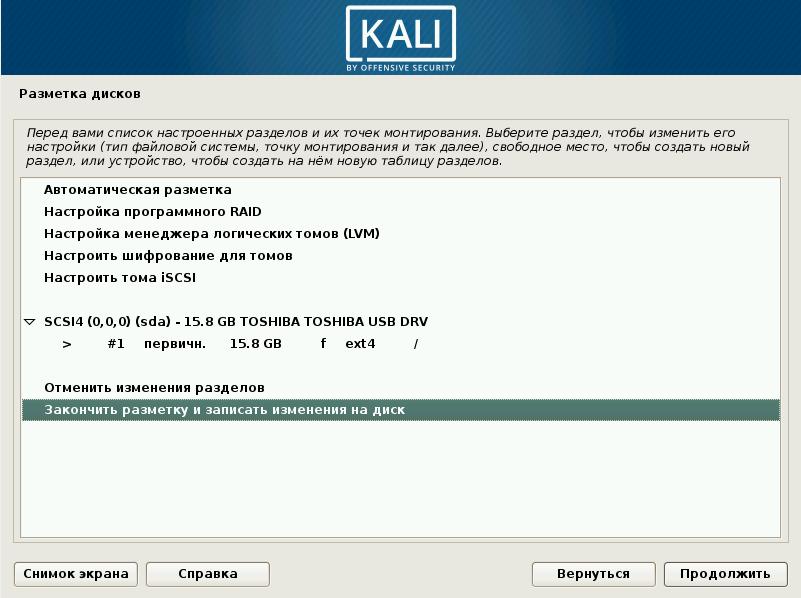
Select "Partition setup complete":
Backing up a flash drive with Kali Linux
The differences between the two installation methods are mainly limited to the installation media and define the parameters of the virtual machine. In the next menu, we need to specify the type and version of the operating system that we want to install. In the next menu, we need to specify the maximum image disk size and how we want to save the virtual disk; as a single file or in multiple files. For now, we keep the default settings for the maximum disk size, and we decided to save the virtual disk as a single file.

Choose "Finish partitioning and write changes to disk":
The system complains that no partitions for swap space are specified and praises it in every possible way. In our case (installing the OS on a flash drive), it really is not needed. We choose "No":
Kali Linux installation requirements
In the next menu, we can specify the parameters of the virtual machine related to resources and network parameters. Then select the modem network mode and the network adapter that you want to use in your virtual machine. If you have a lot of free memory, you can also set it higher. We allocate 1 processor core per virtual machinebut you can also choose to allocate 2 or 4 cores depending on how much CPU power you have on the host machine. We keep all other settings as default.

Now choose "Yes":

After that, the normal installation of Kali Linux OS will begin.
Leave it unchanged here:

Select your flash drive:

When the installation is over (and this may take longer than you expected, since flash drives are not as fast as even regular hard drives, not to mention SSDs), then turn off the virtual computer. You can reboot your real computer to boot from the freshly installed USB stick.
Booting Kali Linux from a USB stick
If you do not have UEFI, then when the computer starts to boot, press the Delete or Esc button many times (sometimes another - depending on the model motherboard - you can ask Google). In BIOS, where "Boot Order" select your flash drive. The flash drive at this moment must be inserted into the computer, otherwise the BIOS will not see it. If the flash drive is inserted, but the computer does not see it, try inserting it into different sockets and reboot each time and go to BIOS.
If you have UEFI, then you just won't get into the BIOS. The easiest way to get into BIOS is to enter into command line (as administrator):
|
shutdown .exe / r / o |
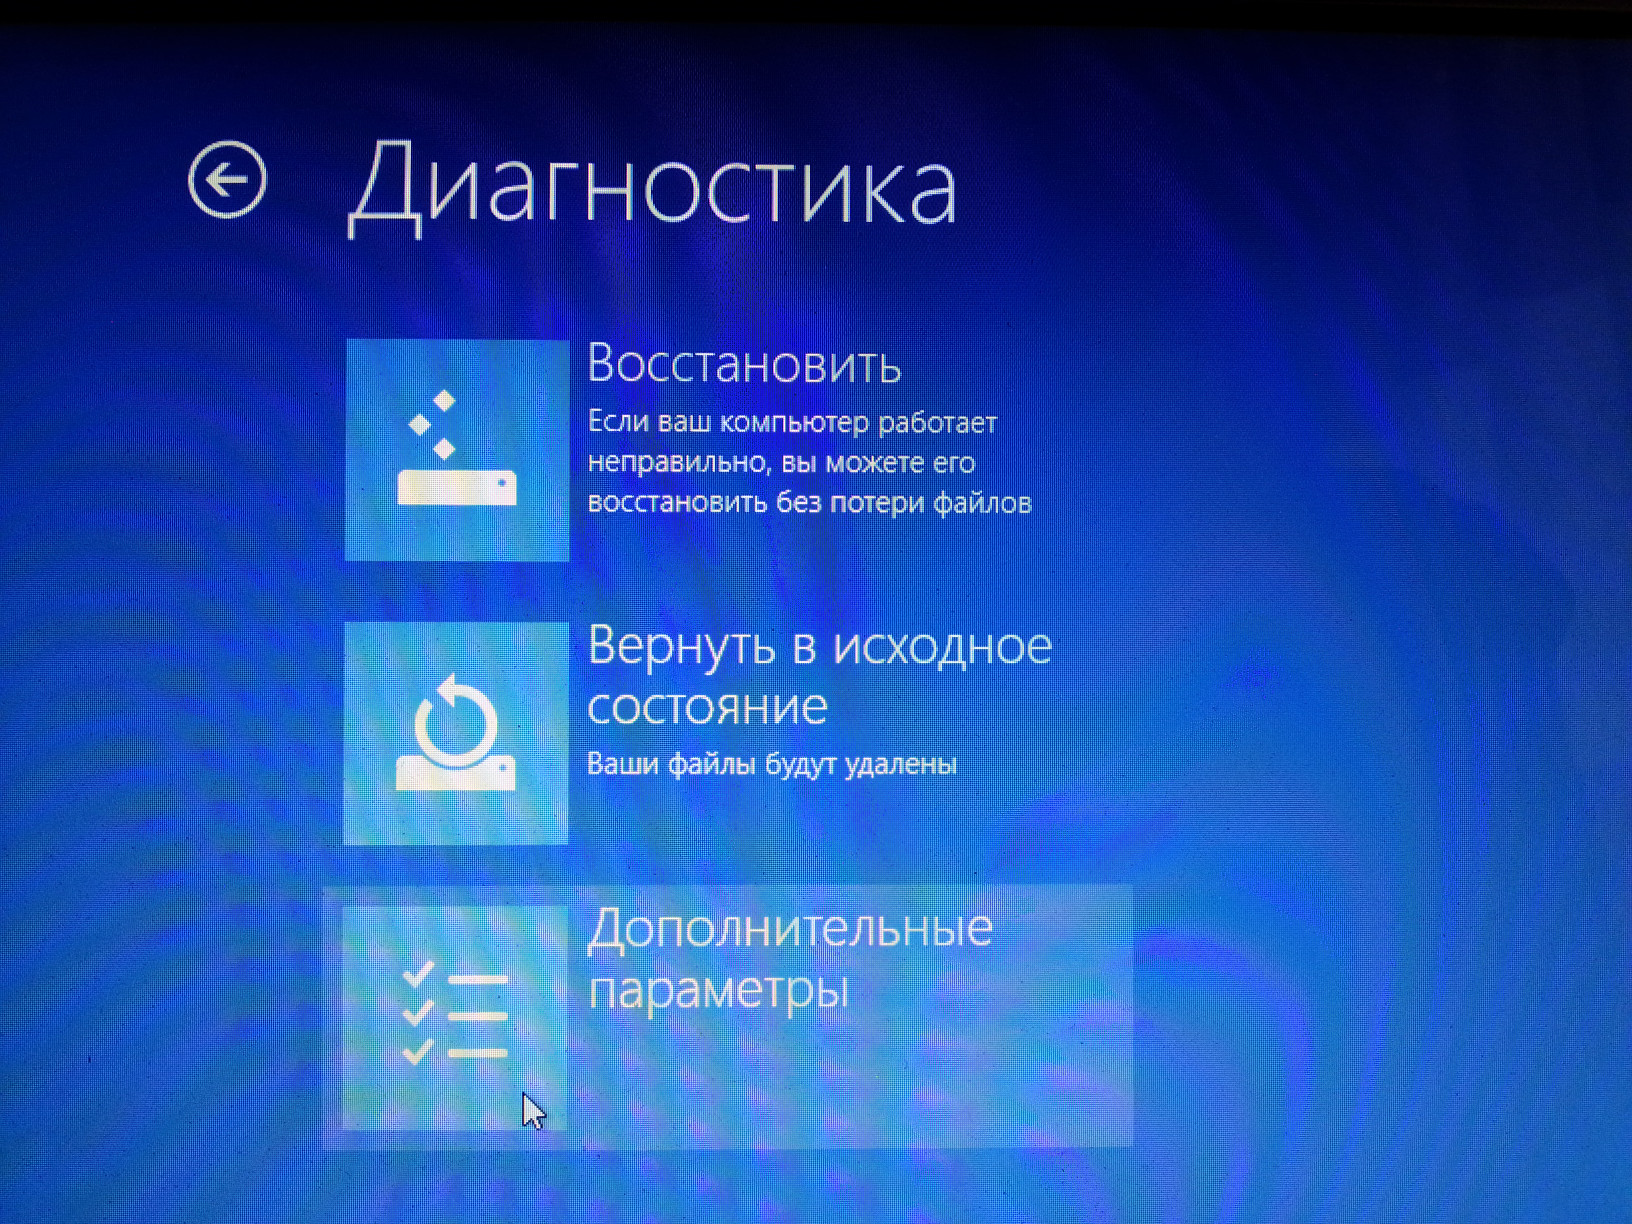
After that, a message appears that the computer will restart in less than one minute. After rebooting, we get here and select "Diagnostics":

Now we select "Additional parameters":
Now "UEFI Firmware Options":
![]()
Well, "Reload":

Have different manufacturers different BIOSes, so yours may be different. But I'll show you my laptop as an example, so that the essence is clear. Go to the Boot tab, select Boot Option Priorities, see what options there are:
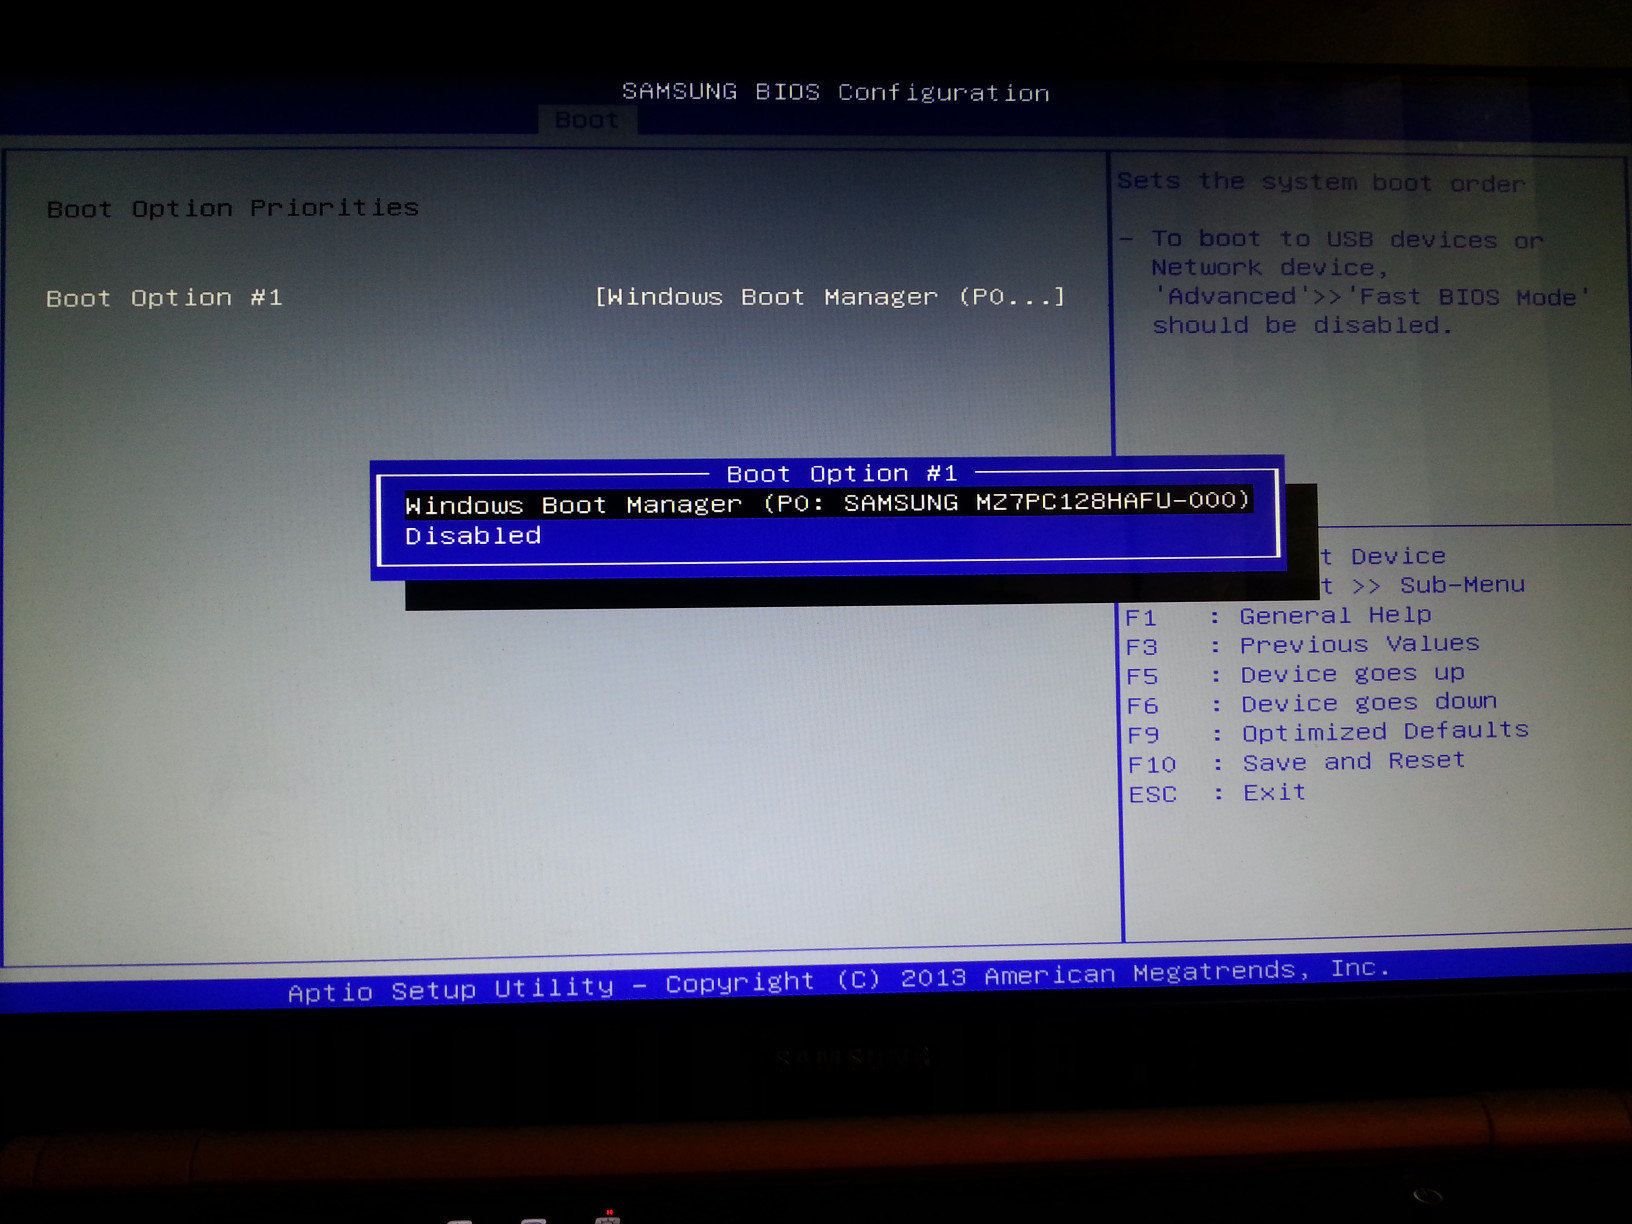
Just one option and definitely not my flash drive.
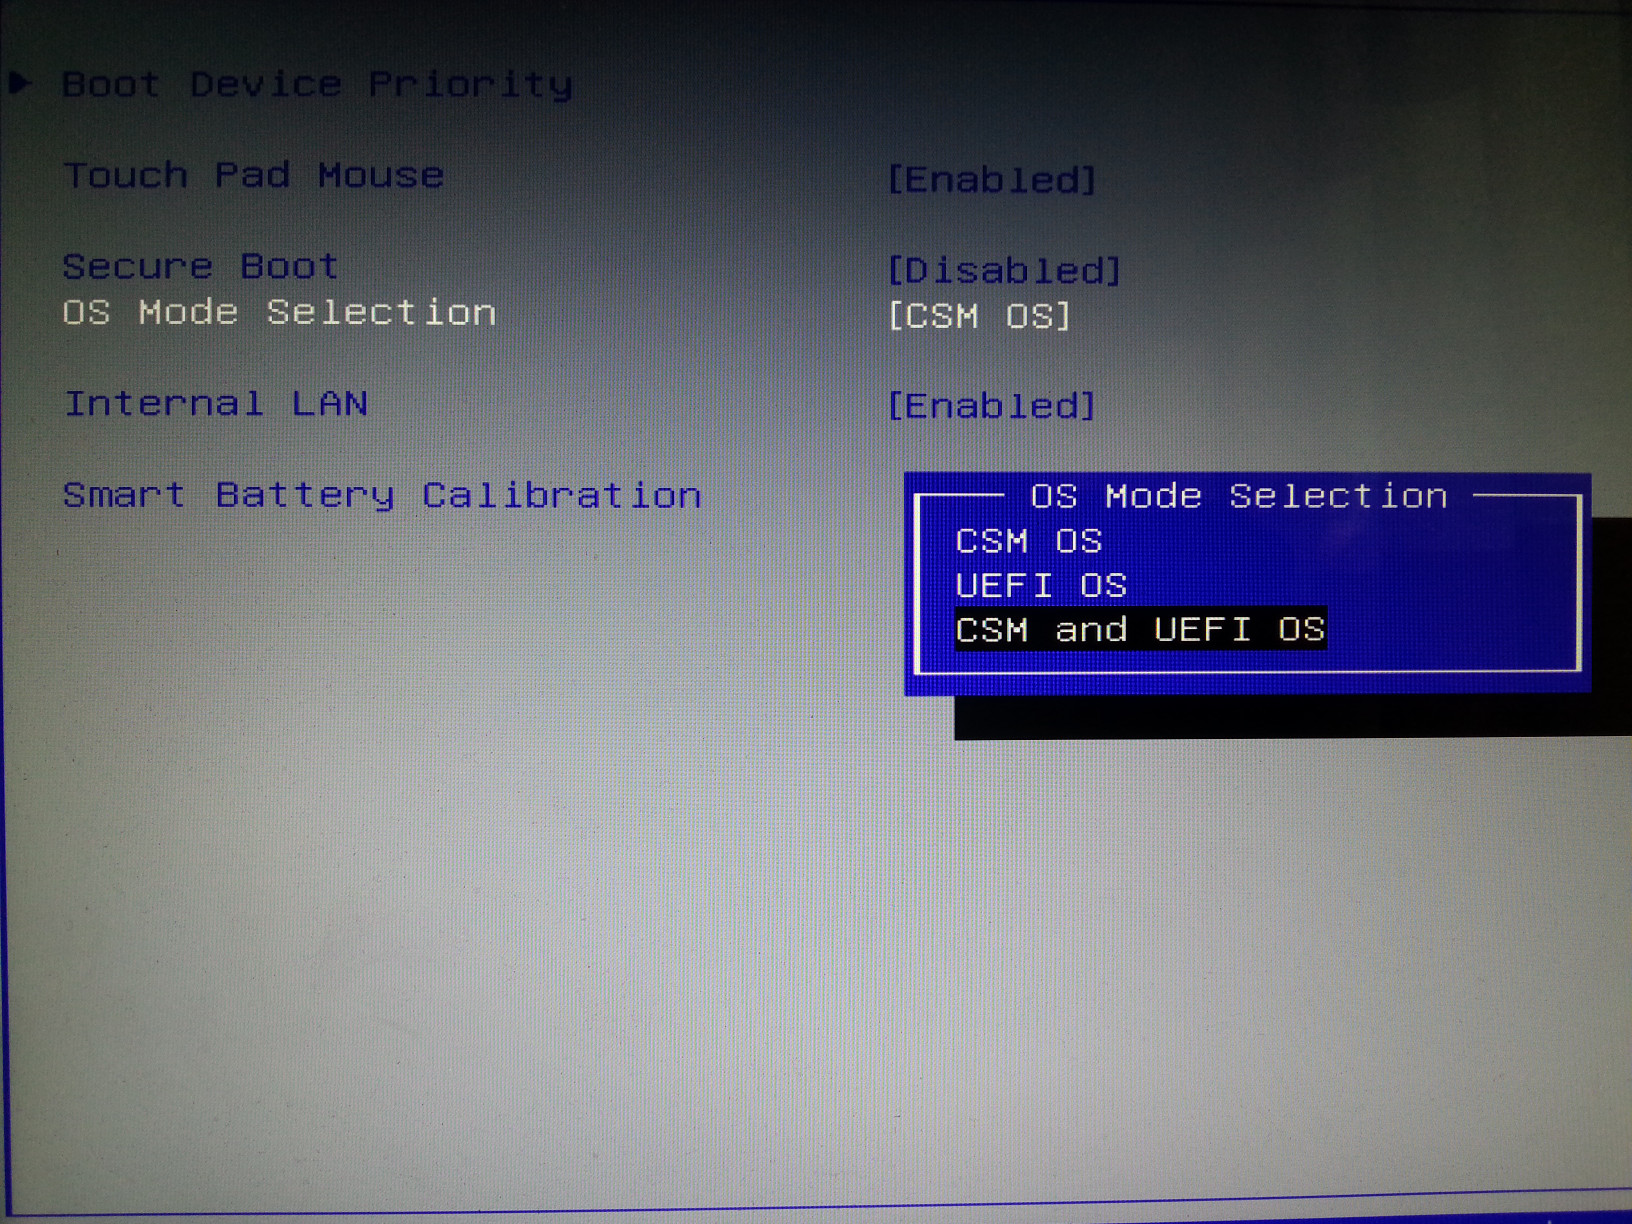
We are looking for Secure Boot and disable (Disable):

A new menu item OS Mode Selection appears. In it, select CMS and UEFI OS. If you select only CMS OS, then installed windows will not load.
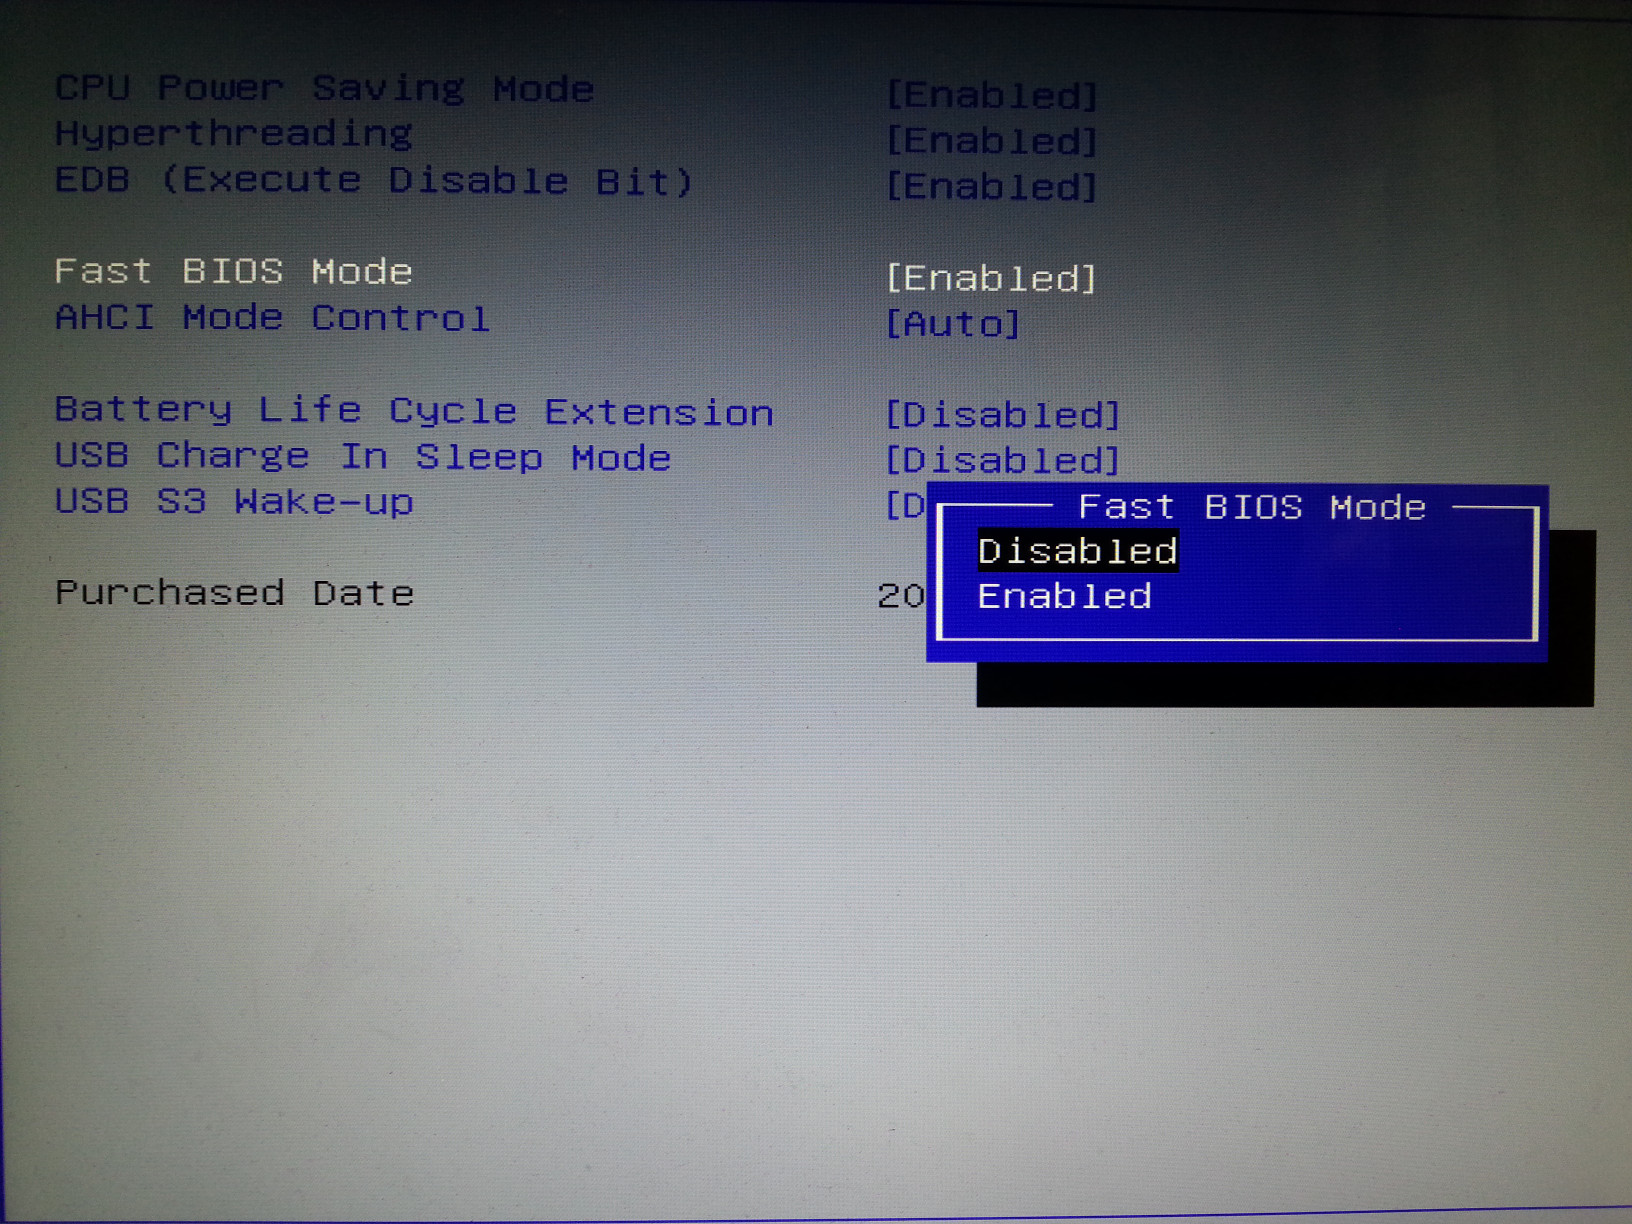
Now we are looking for such an item as Fast BIOS Mode and disable it (Disable). This is necessary in order for the BIOS to start checking for USB devices when booting:
But again we need a BIOS! Therefore, when loading, press the corresponding key. I have this key - F2. On the old computer, this key was Delete. The BIOS itself writes this key when the computer boots. If you do not have time to look or do not understand English, then look for your model in Google. Or try brute force. In addition to the named, this key can also be Esc or some kind of F *.
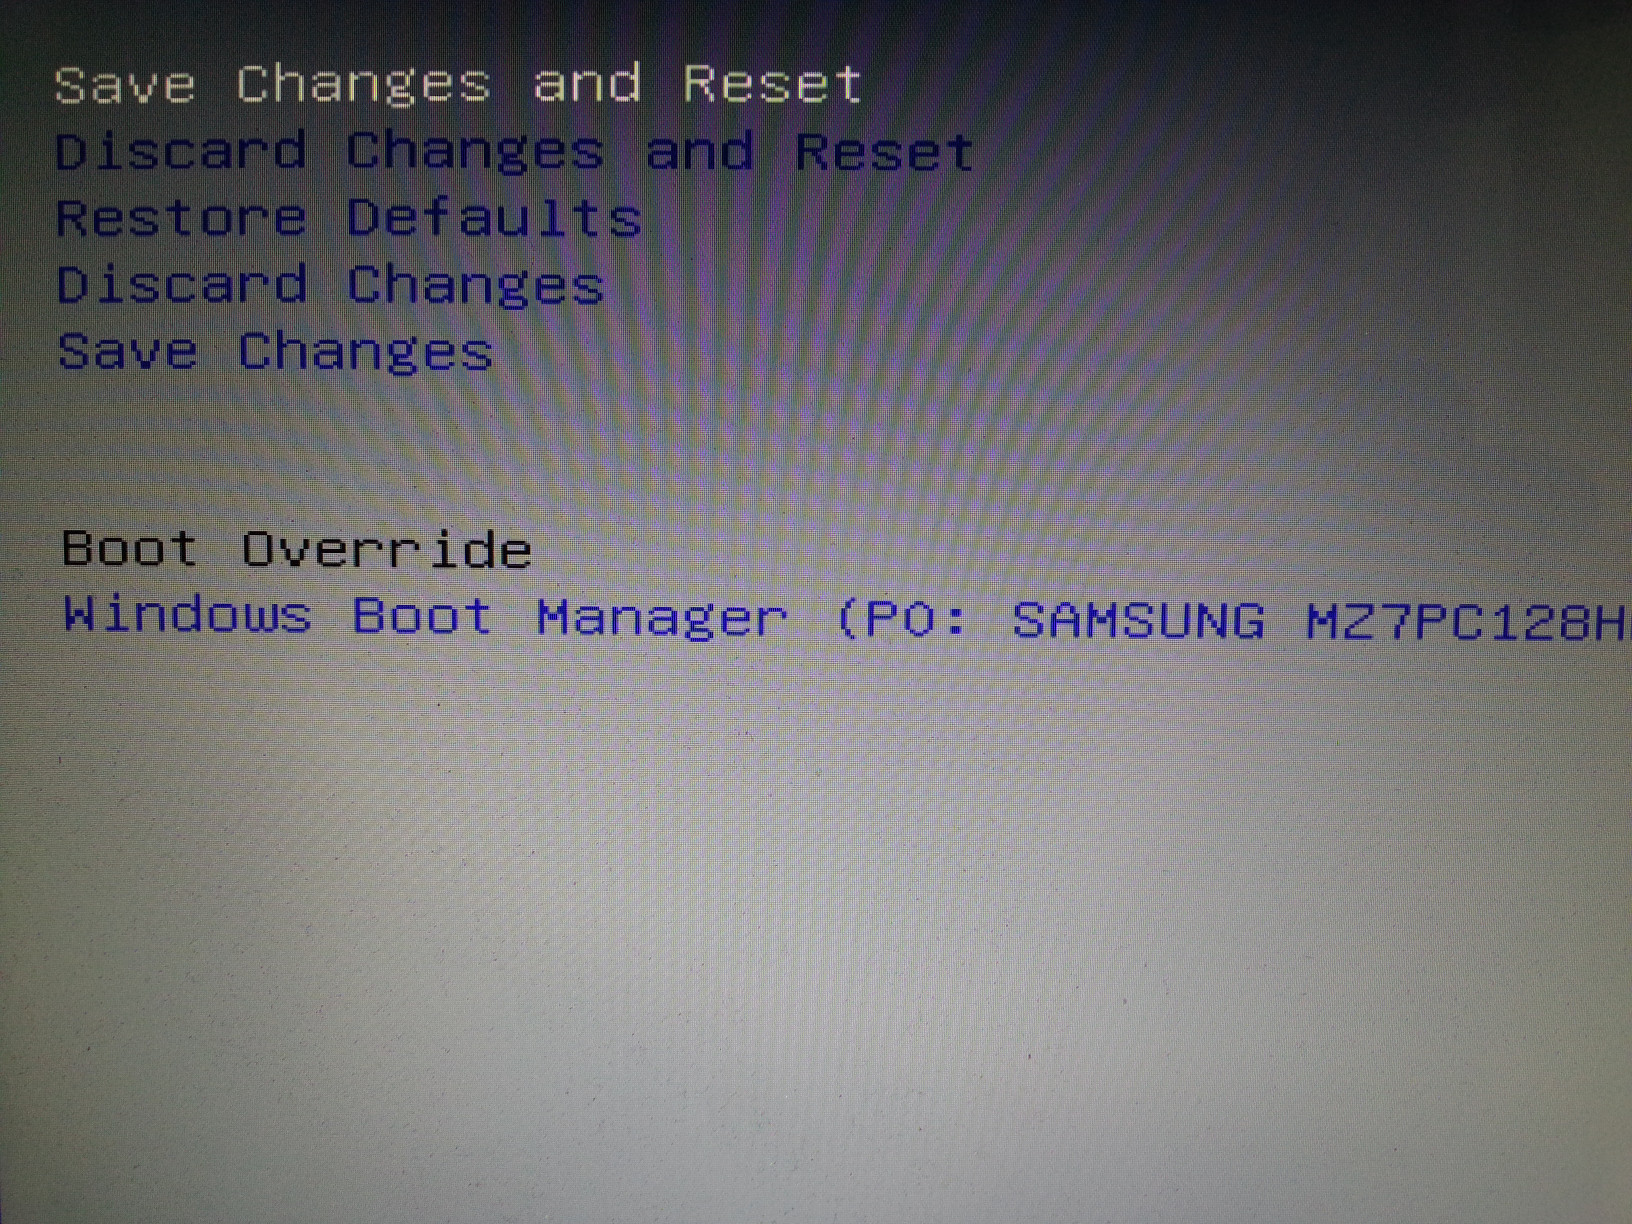
Go to the Boot Option Priorities tab again. Now there is a flash drive. If you do as I did - put the flash drive in the first place, and Windows Boot Manager in the second, then you will achieve the following effect: if the flash drive is inserted into the computer, Linux will boot from this flash drive. If there is no flash drive, then Windows will boot - and there is no need to go into BIOS again!
Especially often this error appears when trying to boot from a USB flash drive or from an external drive. The reason for it is that gRUB settings point to the wrong drive, such as windows disk... The system does not understand file system disk and cannot continue booting. This problem can be solved quite simply.
Restart your computer and when the menu appears bootloader GRUB press the key e... You will see something like the following:
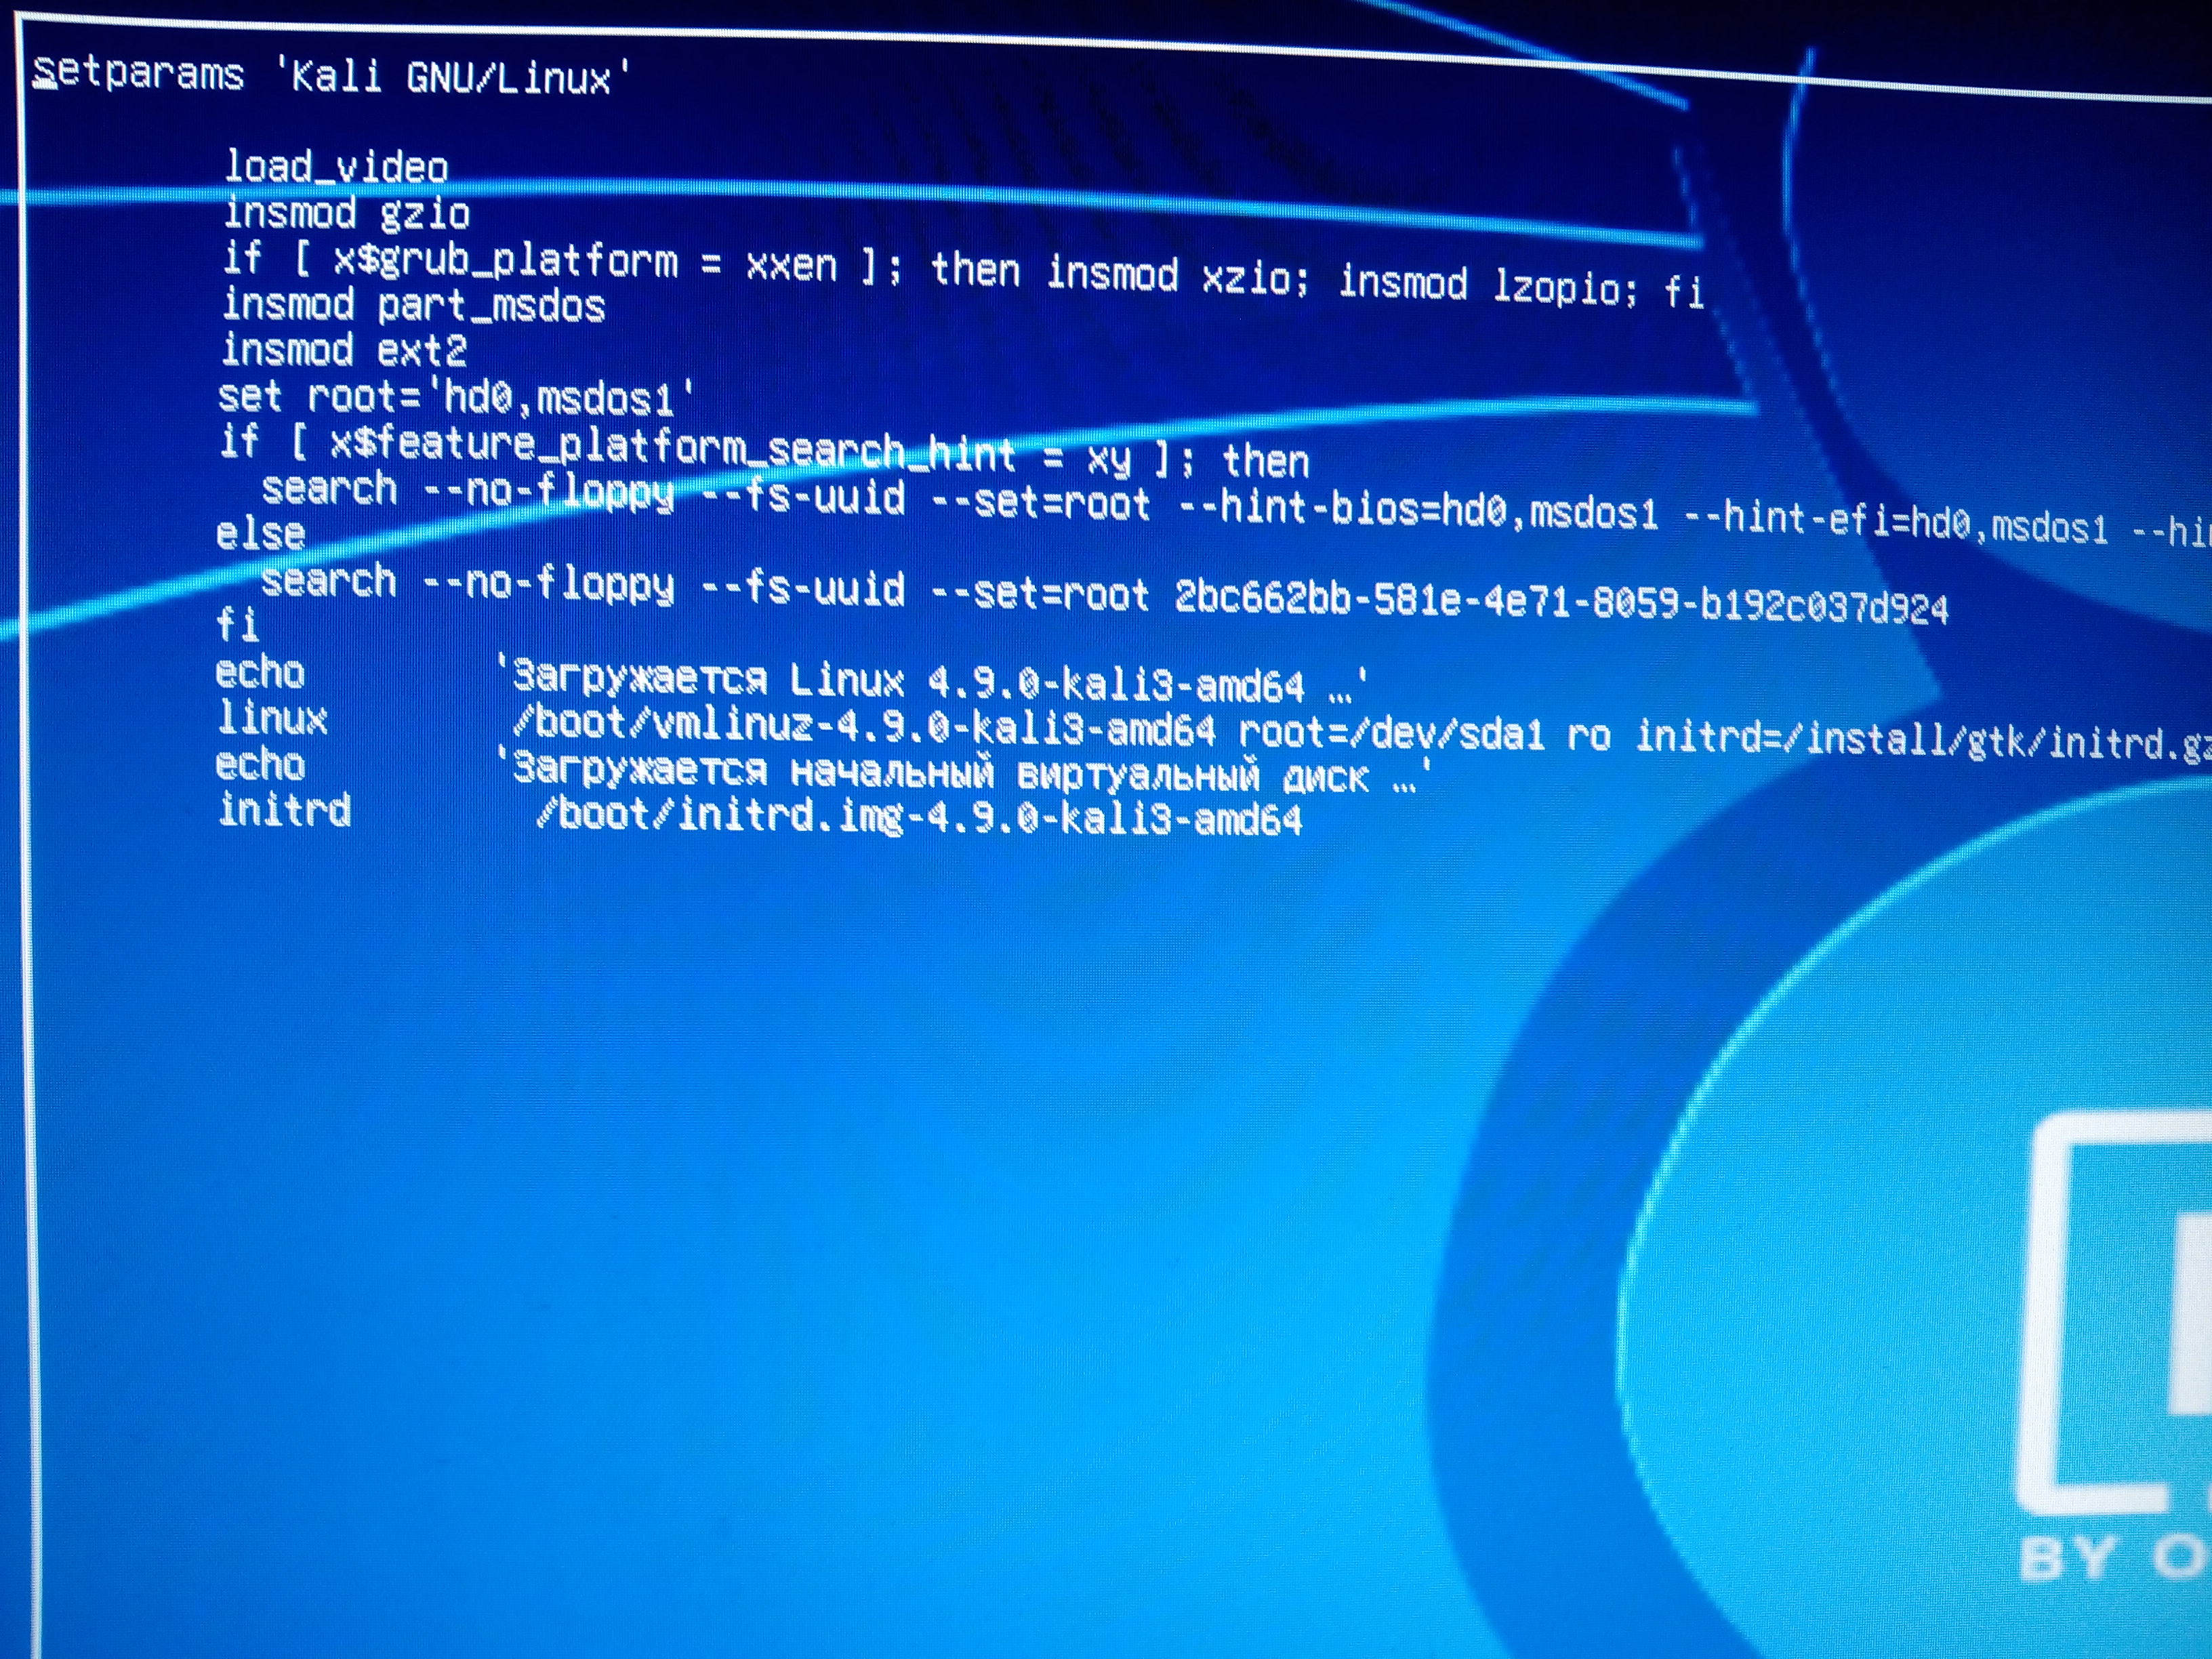
Pay attention to the line starting with linux... In my case, there is a record
Since there were no other storage media besides the flash drive during installation in a virtual computer, it was named / dev / sda1... The real computer has at least one more hard disk, and the name / dev / sda1 could have been assigned to it. And the flash drive I'm trying to boot from now has a different name. This name can be / dev / sdb1, or / dev / sdc1 or something else (depending on the number of disks in the system).
If you don't know the new name, then just go through the different options. Move the cursor to the drive name and change it to / dev / sd b1. Then press the key F10and wait for the download. If the boot fails, restart the computer and change the entry to / dev / sd from1 (and so on alphabetically), press F10and check if the download was successful.
After successfully booting into the system, change the name of the bootable disk. For example, in my case, the disk name turned out to be / dev / sdc1 (with letter c). Then the command to change boot disk will look like this:
|
sudo grub- install --recheck / dev / sdc sudo grub-mkconfig -o / boot / grub / grub .cfg |
Instead / dev / sdc substitute the name of your disk or flash drive.
Now, when restarting, there will be no error, and I will immediately get into Kali Linux installed on a flash drive.
Backing up a flash drive with Kali Linux
Installing an operating system on a flash drive, and especially its subsequent configuration and installation of programs, is a long process. In case the flash drive does break or you need it to record your term paper, you can make a backup copy of it. It is also recommended to make backups before installing video drivers or other similar experiments dangerous for the OS.
If we are talking about creating an OS backup, not individual files, then the best option is to clone an entire disk image. If necessary, this will allow you to very quickly return the entire operating system with all the settings. The downside of this method is that the image with the backup copy will take up exactly as much space as the flash drive has. Even if, for example, operating system with all the files takes up only half of the volume of the USB drive, the image will still be the size of a flash drive. As already mentioned, the plus is that you do not need to select files for synchronization, the whole backup copy stored as a single file, recovery guarantees a complete return to its original state.
IN linux systems a similar image can be made using the program ddand for Windows there is a great free, open source utility.
- If you are working under Windows, then download Win32 Disk Imager
- For * nix systems, no additional software is required
- Well, actually the flash drive itself (at least 2GB, but better than 4GB)
Installation on Windows
1. Connect our flash drive to usb, install and run Win32 Disk Imager
2. Select the Kali image file, and select the letter of our usb device
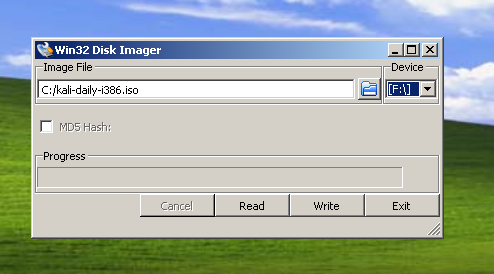
3. Click on Write and wait for the recording to complete.
4. Safely remove the flash drive, you're done.
Installation on * nix
Creating a bootable USB flash drive in * nix systems is very simple, just download the image Kali live and deploy it using the built-in utility dd.
1. Download the Kali Live distribution
2. Connect your USB device to your computer
3. Specify the path to usb device using the utility dmesg
Well, now just run the command in the terminal (don't forget to substitute your paths)
dd if \u003d kali.iso of \u003d / dev / sdb bs \u003d 512k
How to add reliability to the recorded distribution?
This technique is available only if you recorded the image through the utility dd.
1. We connect the USB-flash drive with the recorded image to the computer
2. Let's create an additional partition on the USB flash drive
gparted / dev / sdb
3. The current partition table will look something like this:

4. The new partition must use all available free space, be sure to have a persistence label and an ext4 file system

5. After the partition is created, run the following commands as root:
mkdir / mnt / usb
mount / dev / sdb2 / mnt / usb
echo "/ union" \u003e\u003e /mnt/usb/persistence.conf
umount / mnt / usb
6. Now we boot from the flash drive, and during the offer to select the type of boot, press the tab key instead of enter, this will put us in the boot line editing mode. In this line, you just need to add the word persistence at the very end.