How to set up Windows 7 maximum. What to do after installing Windows. Create the rest of the sections
In this article, you will learn how to properly install Windows 7 on your computer or laptop. In addition, I will tell you how to prepare for this process so that everything goes without negative consequences. Follow all the steps, be careful and you will succeed.
Before properly installing Windows 7, you need to make sure that everything is ready for this. Four requirements must be met:
Built-in protections
Can friends and family ask you to deal with problems on their machines, or do you need access to colleagues' computers? Do you want you to be able to do it from the comfort of your home or office without visiting them? Then you need a program that allows you to remotely control your car.
Setting up automatic access to the device
You will then be prompted to set up automatic access. It is recommended to set up automatic access if you need to access this computer remotely at any time without confirming the connection when trying to connect to your device.
- You must have a reliable installation disc with Windows 7 or bootable USB drive with her.
- Make sure that the local drive where the system will be installed does not contain any important files that you need. This disk will be formatted and all data will be deleted.
- Make sure you have the required device drivers at your disposal, or before installing Windows 7,.
- Make sure you have the installation files for all the programs you need. They will need to be installed after successful installation of the system.
Setting up automatic access is optional. For example, your client's computer name or dual-boot settings to meet the needs of your clients today. This guide helps channel partners resolve their desktop issues.
- You forgot to enter your email address.
- This email address is not displayed.
- You have exceeded the maximum character limit.
- Enter your corporate email address.
How to properly install Windows 7
Installation is divided into three stages:
- BIOS setup;
- Training hard disk and installation;
- Completion windows installations.
Let's take a look at each of these steps.
BIOS setup
Before properly installing Windows 7, you need to understand that a disk or flash drive with the distribution kit is not enough. You also need to configure the computer to boot from this particular disk (or from a USB flash drive), and not from a hard disk. By default, most computers are configured to boot from the hard drive.
A step-by-step guide to doing this has been discussed in the chapter. The Change button allows you to change the computer name. If you are working on a standalone machine, this may not be critical. In this case, you need to change the computer name. Using system properties to change the computer name.
Completing Windows installation
The following steps show you how to change the computer name using the System Properties dialog box. During this exercise, a reboot of your system is required before the final result. 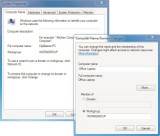
The Hardware tab provides access to the Device Manager button and the Device Installation Options button. Device Manager should be an important part of your hardware troubleshooting routine. If your device is having problems, take a look here first.
There are many BIOS versions, and the device boot order setting is different everywhere. You can find out how popular BIOS versions are configured to boot from external media.
Start installation
Finally we got to the Windows installation. When the BIOS is configured to boot from the required device, connect this very device (that is, a disk or USB flash drive) and restart the computer. The removable media should start loading.
Device installation settings include the ability to replace public device icons with extended icons. Seeing icons of two mobile phones or two external hard drives connected to your computer, you can quickly tell one apart. On the Advanced tab, most of the changes on this tab require administrator rights to access. However, there are times when you need to make changes. Using system properties to configure dual boot options.
The following steps show you how to configure dual boot options in the System Properties dialog box. Peter Bruzze is a Networking Specialist with eight years of experience in the information technology industry. If the system stops loading unexpectedly for no apparent reason, you may need to view a memory dump to isolate the problem.
If you are installing the original Windows, then the message "Press any key to boot from CD ..." will appear before booting. While it is on, you must press any key to start the installation. If you do not have time, the normal boot from the hard disk will start. If you are installing some Windows assembly, then such an inscription may not appear. Instead, there may be a menu where you need to select the installation of Windows 7.
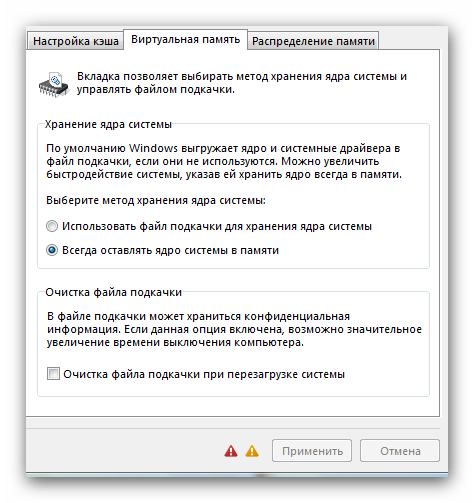
This tab provides advanced system protection functions. This forms the basis for system recovery. System security serves you in two ways. If your computer is experiencing problems and you cannot solve it, you can restore your computer to a previous good working state. System Protection automatically creates restore points every seven days or just before a significant system event, such as installing software. Figure 13 Advanced system protection settings.
The " Remote access"Allows you to allow connections for the Remote Assistance application and the Remote Desktop Connection application. For example, you can allow a user to connect to your system that has a previous version of Remote Desktop. To do this, select the checkbox "Allow connections from computers running any version" on the remote desktop.
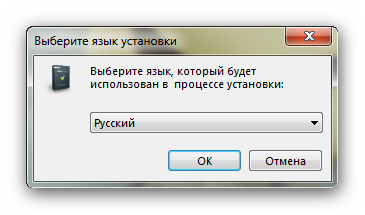
Installation begins. In the first step, you need to select a variety of language options and then click "Next".
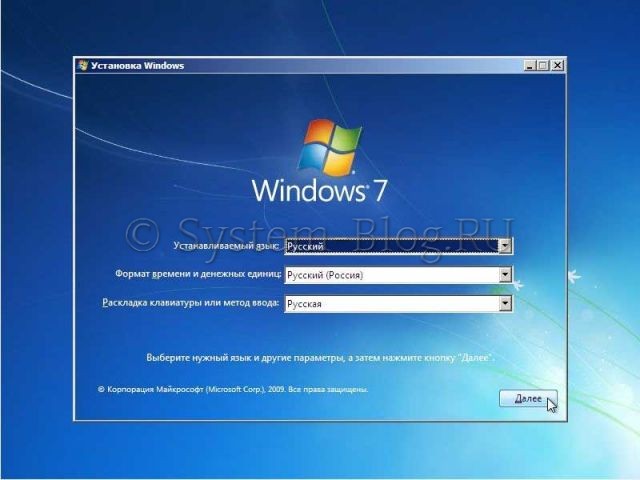
Choose language
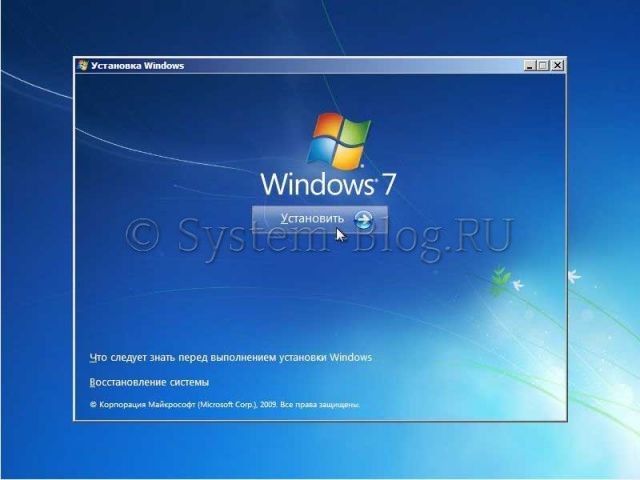
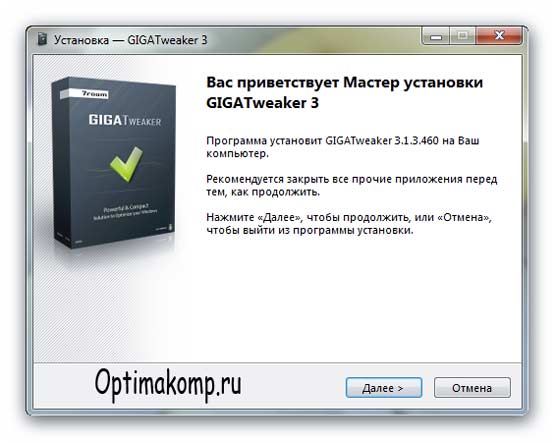
Then a window appears. Click Install.
Disable automatic updates
Figure 14 Allow users to use previous versions remote desktop. System Information contains detailed information about your computer system. There are four components on the left pane that, when expanded, reveal many features.
You have absolutely new computer, on which you need to install and configure everything: from the operating system to drivers, applications, plugins, etc. Do you need to remove everything from the "old" computer and reinstall everything from scratch? If the answer is yes to any of these questions, then you're in luck! After setting up many computers, we have created a checklist of the steps you must go through in order to have the best experience: smoothly, in the shortest possible time, and in a safe way. This article shares an optimized list of steps you need to go through in order for everything to work correctly.
Start installation
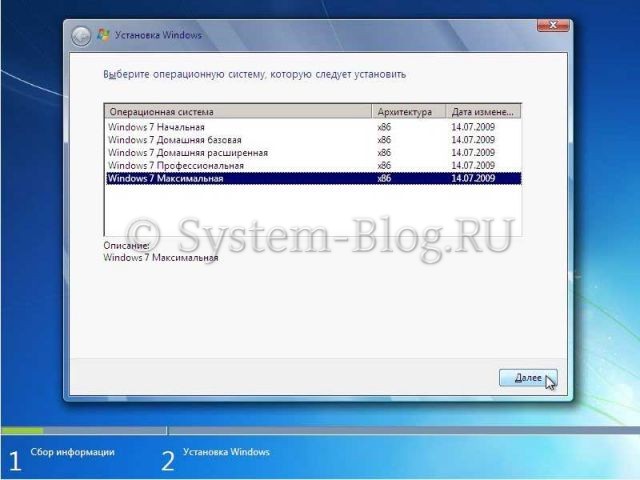
Before installing Windows 7 correctly, you need to choose which version you will install. This is done in this step. Select the desired OS version from the list. It also determines the capacity of the system. After selecting the version, you need to click "Next".
Install the operating system - Required
First of all: you need to install the main operating system... If you have any secondary ones, they can be left on until you have completed everything you need to set up your primary to make things easier. To help you, we have published several installation guides that cover many of the possible installation scenarios. If you have a branded computer, the installation of the operating system was most likely already done for you by the manufacturer of that computer.
Please select windows version 7
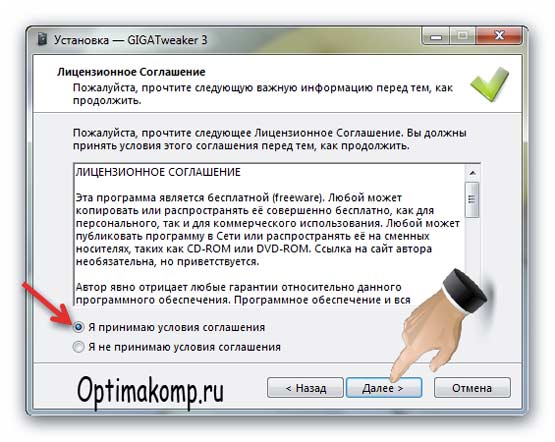
Now check the box that you agree with the license and click the "Next" button.
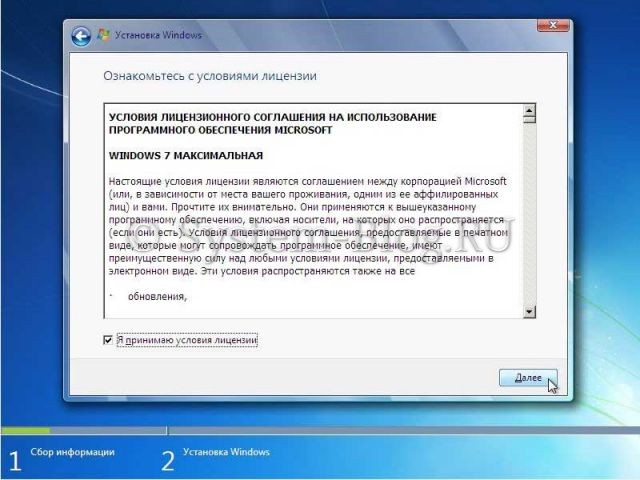
Agree to the license
Now you need to choose: upgrade the system or perform a complete installation. To install Windows 7 correctly, select full installation.
Check if System Restore is enabled and create a restore point - Recommended
If your internet connection works during the installation of the operating system of your choice, feel free to tweak things like yours network connection or your home group. This step may sound like a surprise to many people, but that doesn't make it any less important. If there is a time when something can fail, it is when you set up your computer for the first time and install everything you need to use. To be safe is important.
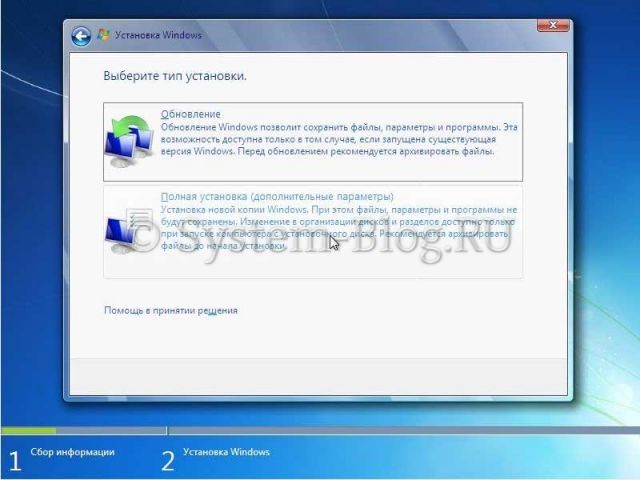
Choose full install
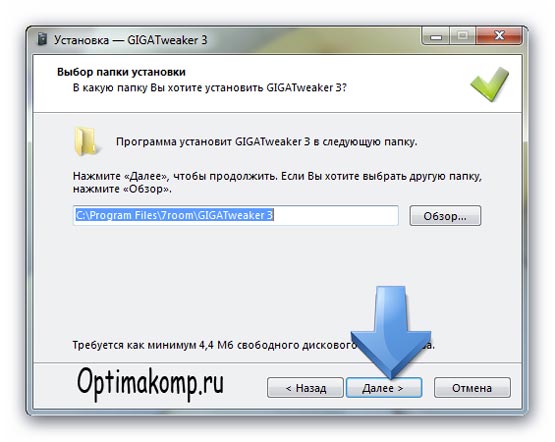
Before properly installing Windows 7, you need to work with the hard drive. Click "Disk Setup".
At this stage of the installation, you will have a utility at your disposal with which you can operate the hard disk partitions. So, using the buttons, you can delete, create and expand sections, as well as format them.
If something manages to screw up your computer during the setup process, you don't have to start over. You just restore the system to the point where it works and double check the steps that followed after that point. What can mess up your computer very quickly? A good question with many possible answers, depending on your computer, your operating system, your knowledge and attention.
Installing Missing Drivers for Computer Hardware - Required
When it comes to video card drivers, you must find latest versionfound on your card manufacturer's website. Some other hardware components for which you want to look for new drivers on the manufacturer's website include: network cards, printers, scanners, keyboards and mice.
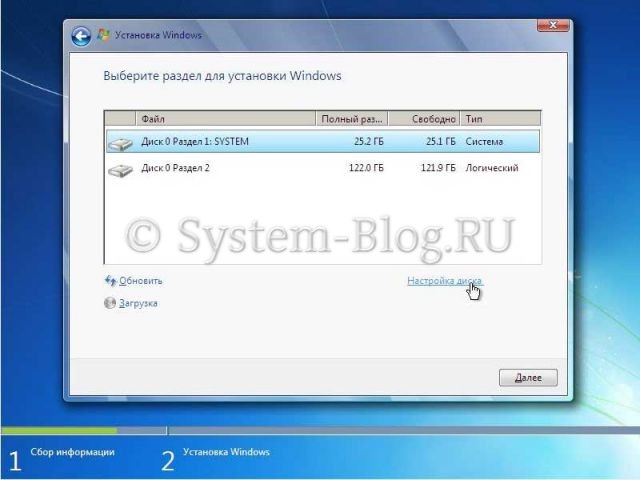
Click on "Settings"
Select (or create) the partition where Windows will be installed and click the "Format" button. A warning will appear that now everything will be removed from this section - we boldly agree, because we have prepared for the installation, and have saved everything we need in another place.
Why take this step now and not later? You will be able to use all the hardware in your system sooner rather than later; You don't yet have a security solution that might interfere with the driver installation or annoy you with asking for a lot of assertions for the installation to succeed. The downside of this is following the steps below?
However, it is worth double checking that all the latest drivers are actually installed. Also, you can look for new driver versions, especially for your graphics card. What updates need to be installed? Why is it now and not later? For a number of very good reasons.
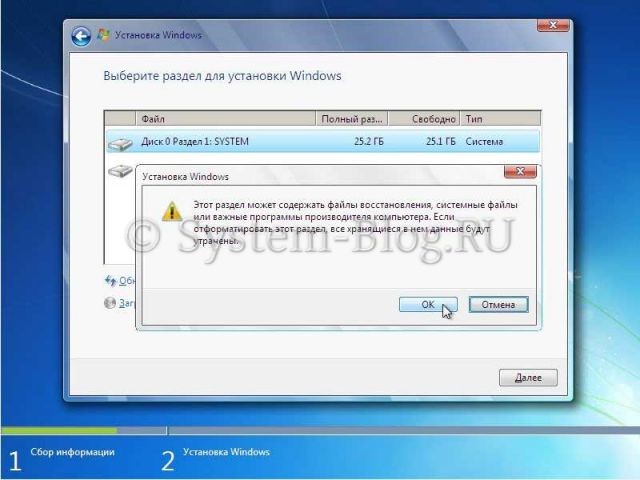
Format the disk
After formatting is complete, click the "Next" button.
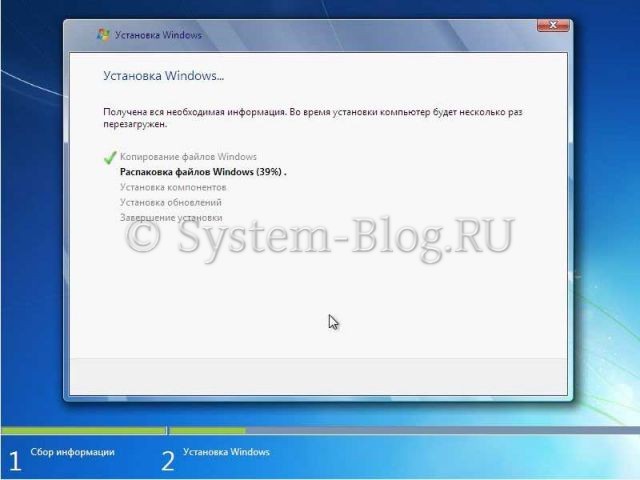
And wait for the process to complete. This can take a long time.
At this point, you definitely want to access your favorite browser and start using it. Why do this now and not later? Before installing any browser plugins, you must have your main browser installed, and you can also use it to download the material you need in the next steps.
This step is for those with more advanced technical skills and confidence. Installing them can help you fix bugs, improve performance, or improve their compatibility with other devices and hardware features.
Wait for the installation to complete
Completing Windows installation
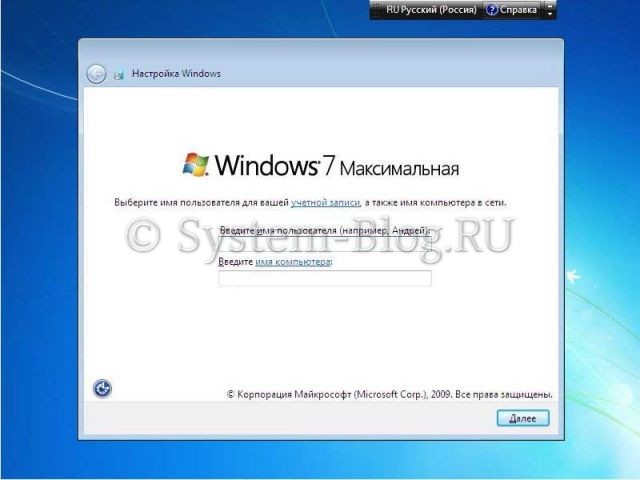
When everything you need is copied and unpacked, Windows 7 will prompt you to enter names for the user and computer. Enter this information and click the Next button.
Install a good security solution - Must
You may be wondering: Why recommend installing a security solution so late? So, if you don't visit shady websites before you get to that point, you are safe. Not sure what to install in terms of security solutions? We've reviewed all important security vendors. It's good when you start searching the Internet for everything you need software, install your security solution.
Installing plugins, players, and runtime - optional
This will help you stay safe if you find yourself on some shady website offering you awesome deals or “free” apps to download. In the old days, you had to install quite a few plugins, players, and runtime environments to be able to view and use whatever you need without a problem.
Enter username and computer name
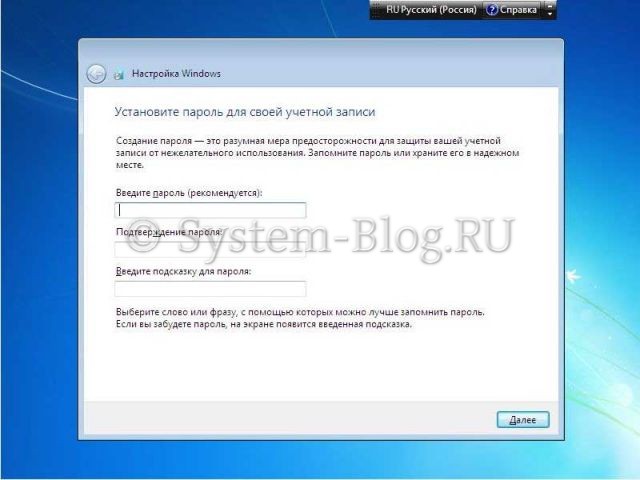
Now you can create a password if needed. You can leave all fields blank and click Next.
Hello, friends! How to customize windows 7? Sooner or later, all users of the operating system ask themselves this question. Like any thing, it must be configured for convenient, fast work according to your needs and preferences. By disabling various dubious "chips" you will significantly speed up the system and optimize it.
Adjust screen resolution
This is why this step is no longer required. Also, make sure that you currently have an antivirus installed and that it scans whatever you download from the Internet. Often times, this software makes your system annoying to use and less secure than it could be. Plus, it takes up precious storage space that you can use for other applications. Take the time to remove anything you don't need or don't want to use.
Install the required apps and games - Required
We have several guides that you will find helpful at this stage. At this point, you have a modern and secure system. From now on, make sure your security solution is active and protects you in real time.
Customize your operating system, drivers and applications - Required
This step doesn't have to be the last one. The configuration can be done in parallel with all other steps. To help you, here's a checklist of things you shouldn't forget to set up.You can use the standard system tools and configure everything by hand, but this is a rather long and dreary process. Without experience and skills, you can kill Windows 7 in a matter of seconds. Therefore, tweaker programs were created. All you need to do is put a tick in the items you need and click "Apply". Isn't it more convenient and faster? Moreover, any self-respecting tweaker program creates backup registry and any of your changes can be rolled back.
I want to tell you about one such program today. Meet GIGA Tweaker -russian, free, easy program for tuning and optimization windows systems! By the way, it works only on Vista and seven.
Also, for the most persistent, who read the article to the end, there will be a bonus - a separate tweak to disable security warning window when opening a file or launching programs.
The fact is that I nailed my Windows after all. No, dear spiteful critics, not programs. Just experimenting with partitions and disks, making them dynamic, etc. etc. , spat and demolished everything. Now I'm adjusting for myself new system... You can imagine how many interesting things are ahead - so as not to miss the tasty ones. I also offer you to improve the well-being of your computer at the same time. Let's start already ...
How to customize windows 7 - download Giga tweaker

Here is such a small, but remote program that does a huge job in seconds - let's go ...
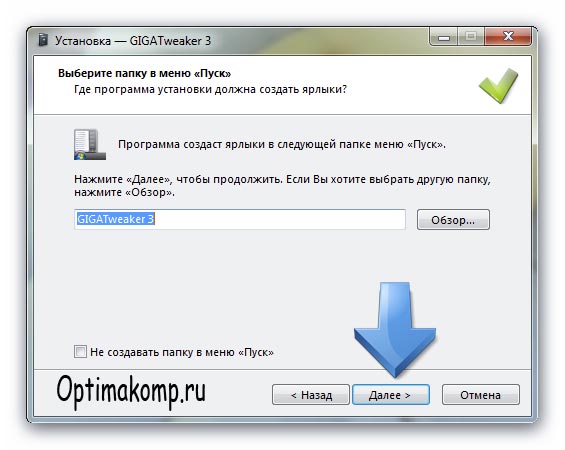
![]()
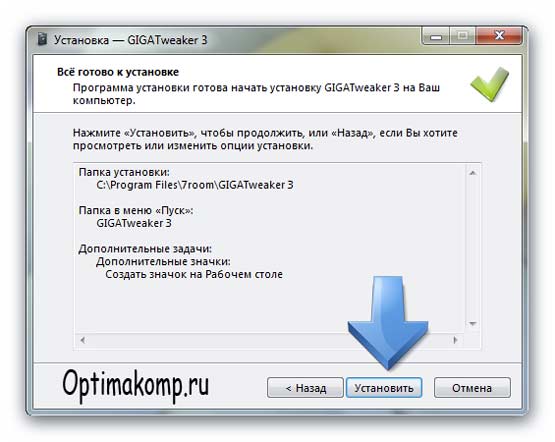
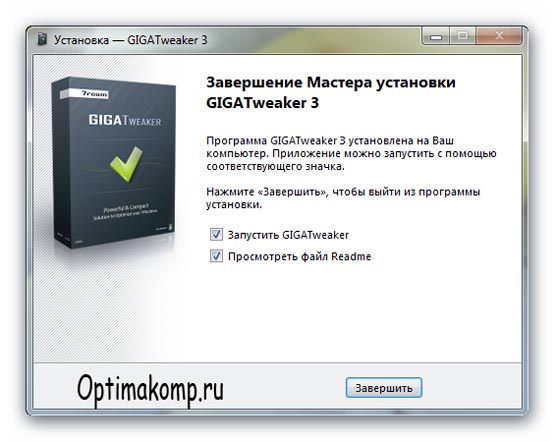
So we installed GIGA Tweaker. Now how to customize windows 7? It's very simple - launch the tweaker.
A window will appear asking "Create a restore point?" , agree and create. Will pop up in the tray ...

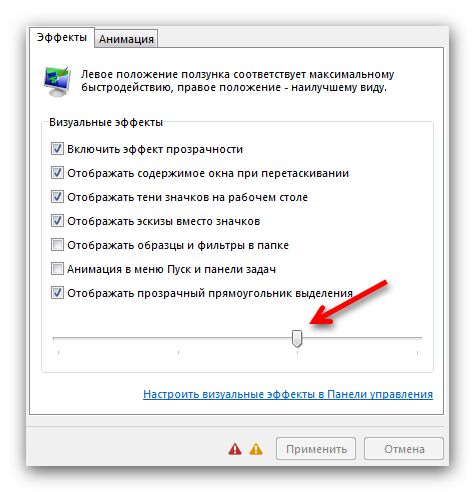
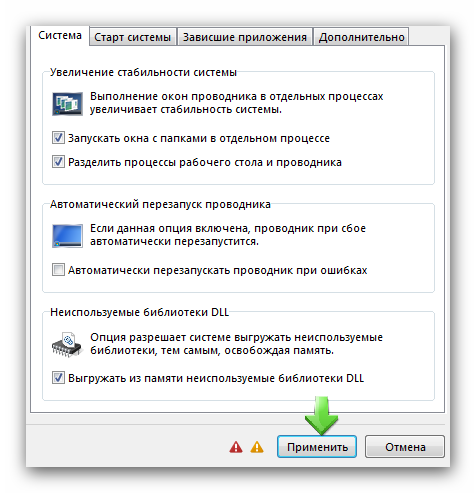
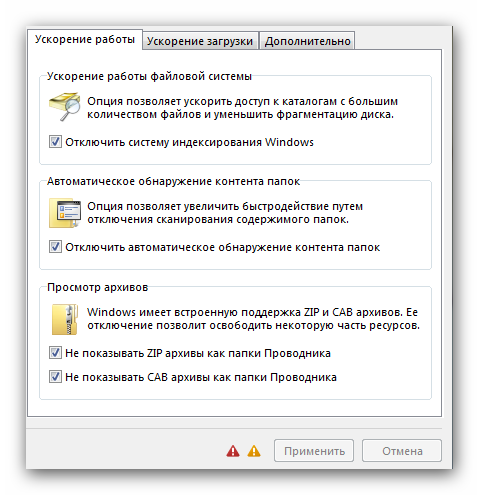
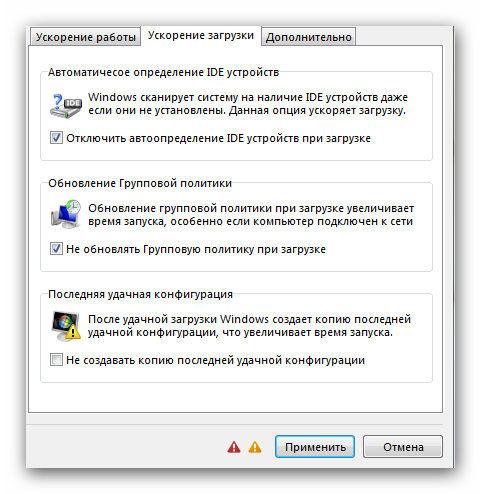
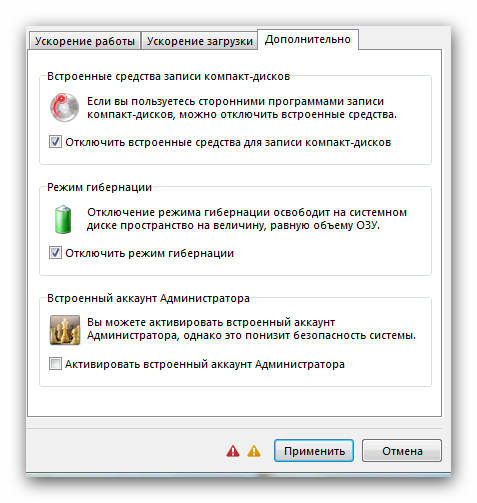
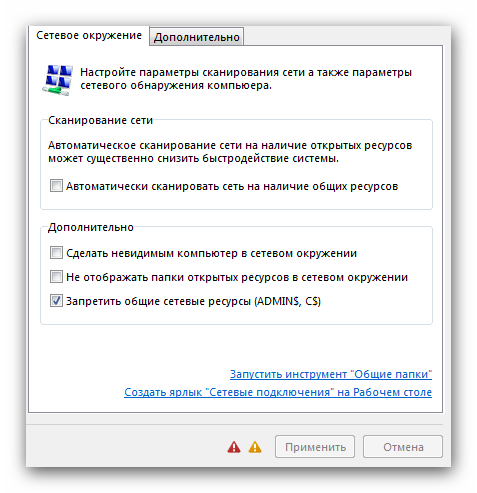
We are immensely happy and continue. Without further ado, I'll show you my settings. The absence of some windows means that I have not changed anything there or have already changed it by hand. I don’t show points with arrows, so be careful.
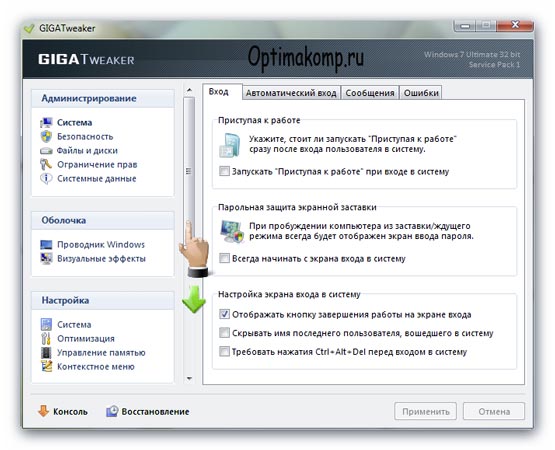
On the left we have a menu in which, in order, we will tweak the system by selecting items in sequence ...

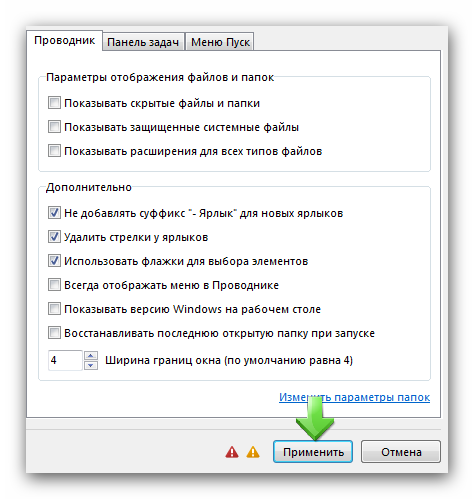
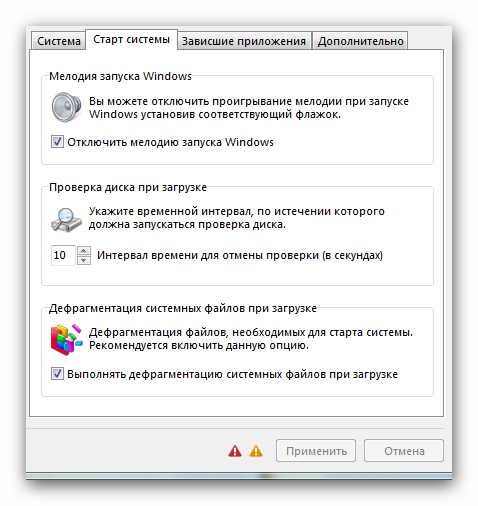
If you have a very old computer, do not check the first box.
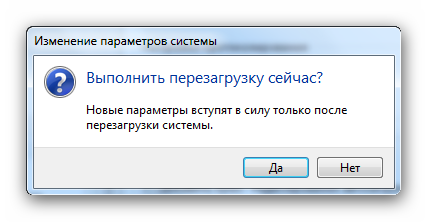
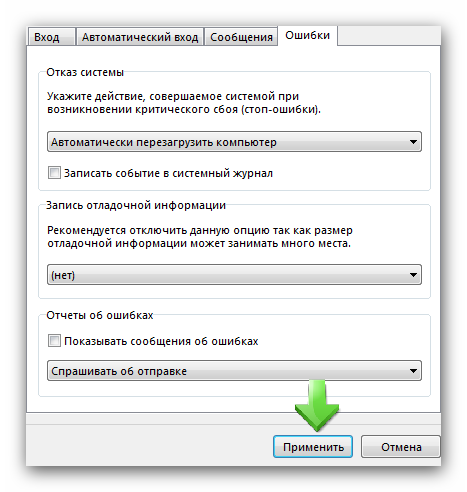
That's all! I hope you didn't forget to click "Apply" when making changes? Restart the system and hold your computer with both hands - it starts flying! Congratulations, you can be proud of yourself! Become Power Users. Now the promised bonus ...
Whenever you install a file or start the installation of programs, you get the following security warning window…
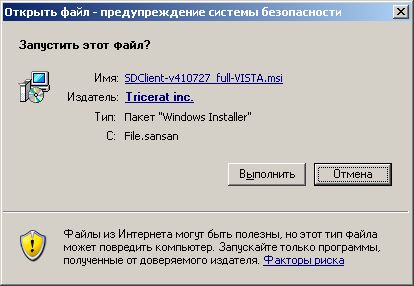
An extra function, I think ... just annoying! I made a decision to install the program and deliberately clicked on the installer's shortcut, why ask me eight more times? I am quite adequate and should not be considered an idiot.
Let's get rid of this security warning window. We will do this simply by clicking on the file from the archive ...